Enter Lightroom.
I figured out that while the correct settings are important and while lighting is imperative in controlling the image, there’s this other incredibly useful tool to make my photos pop. Lightroom is the only editing tool I’ve ever used to showcase the crazy beautiful places I’m able to visit. It’s become fun to me…an art form if you will. No, truly – it makes for the best plane activity! Give me a glass of wine, headphones and a full SD card at 30,000 feet, and I’m happy. It’s so user friendly both on my laptop and mobile so I’ve never found it to be this scary, intimidating platform. My current subscription gets me Lightroom Classic, Lightroom CC and Photoshop with 1Tb of storage for$19.99/month, completely worth it to me with all the editing I do.
Lightroom Classic vs. Lightroom CC (Creative Cloud)
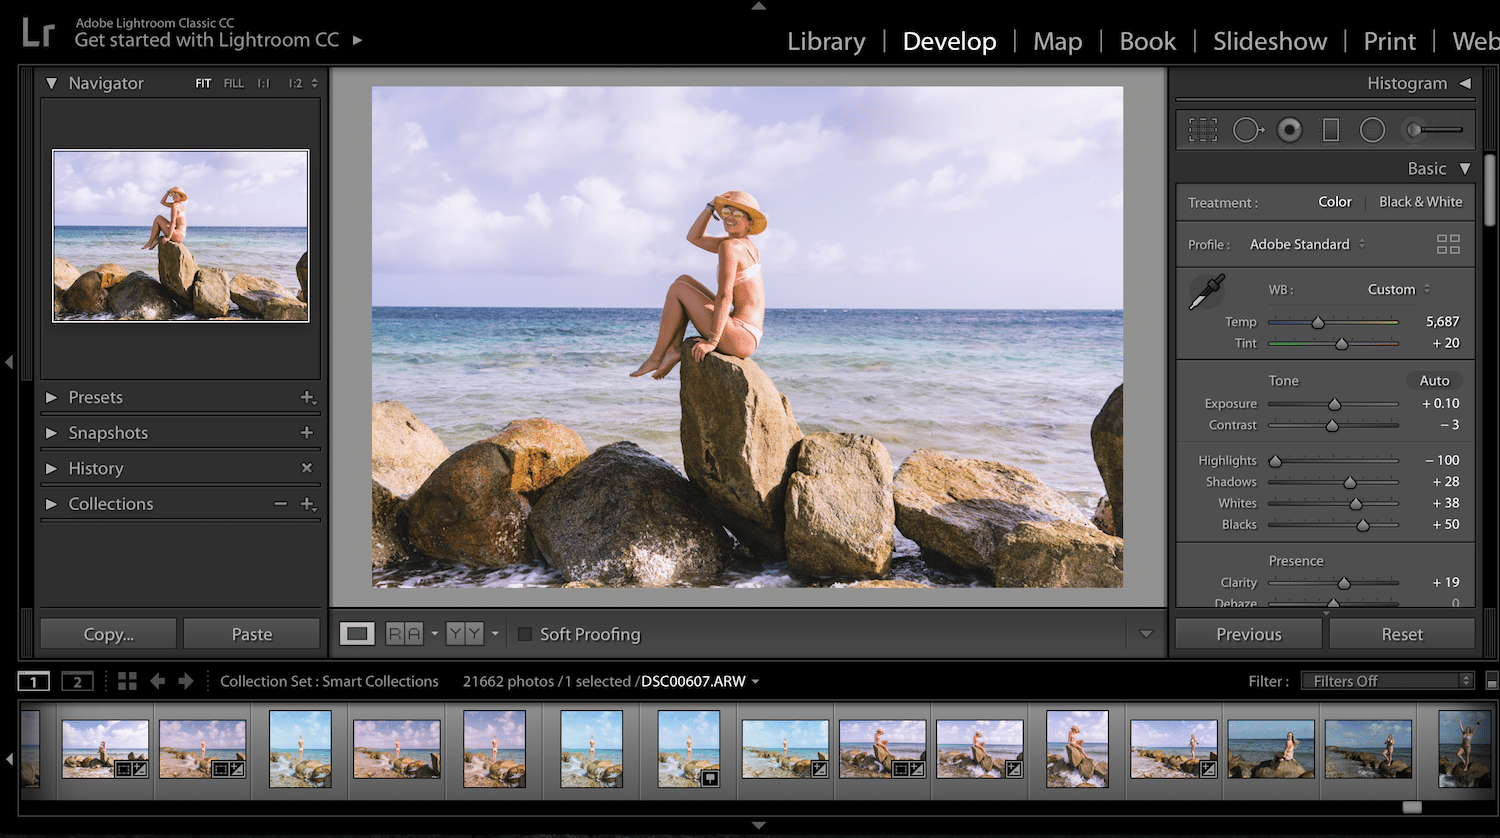
Lightroom Classic is just that – the classical version of Lightroom that seasoned users are familiar with as it relates to desktop-based (file/folder) workflows. It’s the one we all know and love with local file storage. The sheer scope of what this version can do at the speed it can do it in is beyond impressive. Lightroom CC is the photography service designed to be a cloud-based ecosystem of apps that are deeply integrated and work together seamlessly across desktop, mobile, and web (cloud-based storage). I don’t use the CC version on too many occasions, but I’m happy to have it on my phone when I can’t get to a computer!
Inside the Camera
First, let’s go inside the camera – an important place to begin! Before working inside the actual editing platform, you have to first take the photos.
My advice:
- Shoot in RAW – an image format that allows for the highest level of photo manipulation. They’re massive files which means you’ll probably want a bigger SD card to accommodate them. You can easily make the switch from JPEG to RAW inside your camera.
- When in doubt, underexpose rather than overexpose – this allows the image to retain more detail and edit with a bigger range inside Lightroom.
My Equipment:
- My first ever DSLR was a Nikon D3200. After a few years, I upgraded to the D7200. Now, I’m crushing on the Sony a7 III 🙂
Tips & Tricks
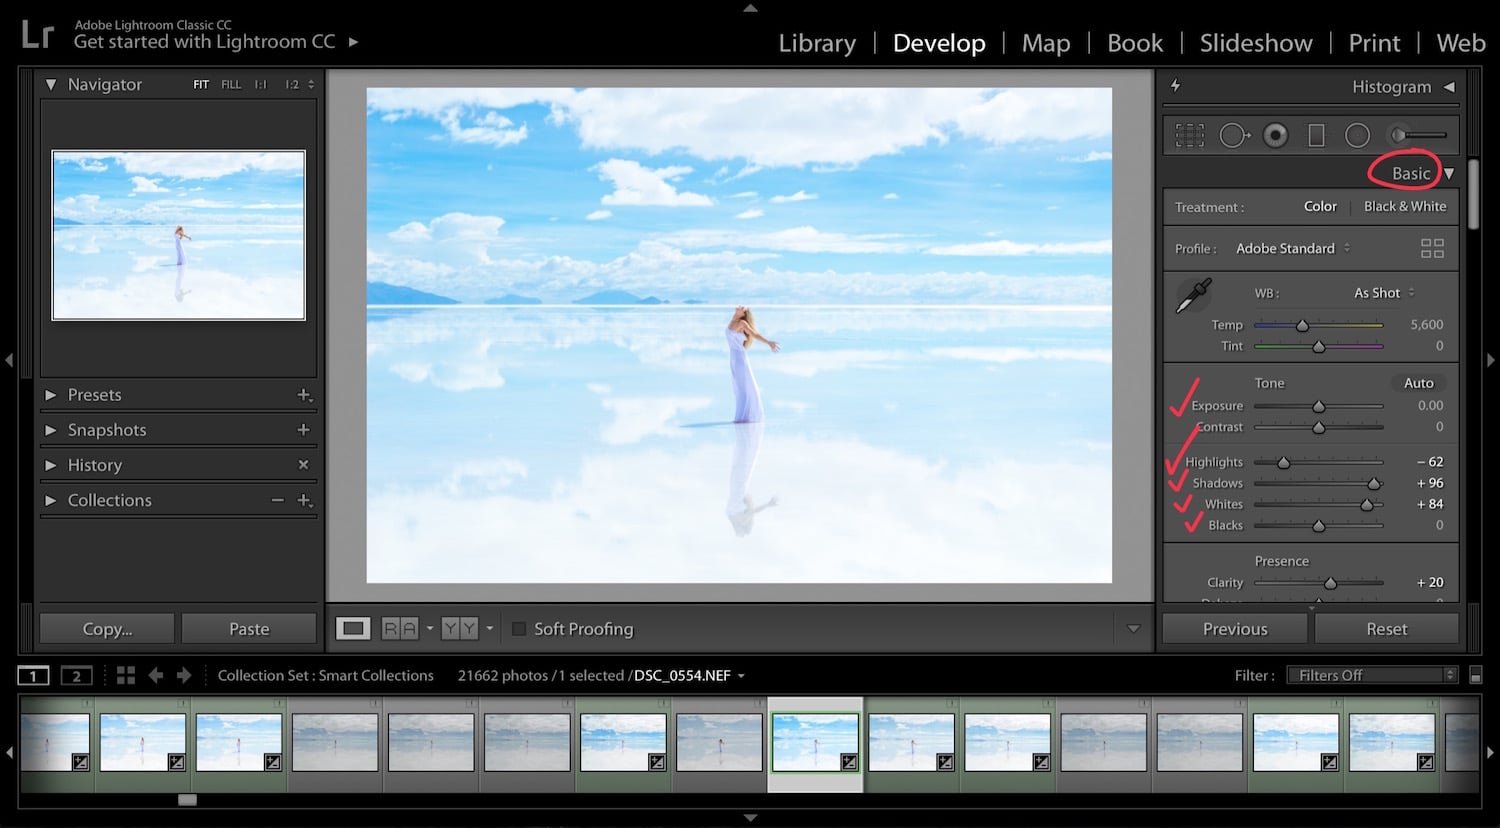 1. Import: From the File menu, I click on Import Photos and Videos and go to the tab that shows my external hard drive (where I’ve already transferred all photos from the camera SD card). I then begin the selection process and hit Import once done. Inside the Develop Module is where the real fun begins.
2. Lighting: First things first: I start with exposure, highlights, shadows and whites/blacks. If the image is underexposed, I typically increase the exposure slider, decrease the highlights, and brighten the shadows. The whites/blacks slider can be extremely useful as well in brightening and darkening an image. For example, sliding the blacks to the left can help an image that looks a bit washed out. And then there’s the Tone Curve, almost like a contrast slider on steroids. A few adjustments here can really pack a powerful punch to an image.
3. Color: I’m anything but black and white – I’m pretty much everything in between 🙂 I LOVE color as ever apparent in my Instagram feed. Vibrance and saturation are my friends (found under the Basic panel) but I also love shifting individual color saturation in the HSL panel. I’m careful to not make photos look too fake by blowing up all colors of the rainbow or making anyone look like they had a cameo in Willy Wonka and the Chocolate Factory (shout out Oompa Loompas). Without delving into the Color Theory, the Split Toning panel enables editors to completely change the feel and vibe of an image without necessarily affecting the skin tones and other specific features, yet another powerful tool.
4. Details/Texture: I love a good clarity slider. It makes everything look a bit more 3D. The contrast slider can punch up an image as well, and both of these tools located in the Basic Panel can impact the mid-tones of an image (but careful not to g overboard and make the overall look too harsh). You can sharpening your image, of course, by going into the Detail panel (careful not to oversharpen).
5. Temperature: Increasing the amount of orange introduces warmth to your image while increasing the amount of blue introduces coolness to your image.
6. Undo/Reset: Command Z is my BFF as it’s the ever popular ‘Undo’ button. You can also find it by going to Edit –> Undo. The Reset button on the bottom right corner will set your image back to its original settings.
7. Experiment! I truly love getting lost inside Lightroom because at the end of the day, the above information is different for every single person. This is my style – perhaps yours is completely different! Photography editing is an art form and to each their very own as they create 🙂
Presets
Presets are, in their most broken down form, adjustment recipes or a combination of slider settings that you can apply to one or multiple photos at a time. I tend to edit on an individual basis based on that certain photo’s needs, but presets can certainly help in a time crunch as well as in certain destinations for batch editing. They will most likely look different on every image taking into account the different lighting, colors, subjects and settings. Adjustments will most likely need to be made after the preset is applied. You can create your own or buy files from someone else and easily import them into Lightroom. Here’s my collection based off of various locations around the world and their colors, textures and lighting. Let me know if you’d like the option to purchase them!
The Road Les Traveled: me doing what I do best – taking the road Les traveled down a very, very colorful road..

Location: Fitz Roy, Argentine Patagonia
Here Comes The Sun: all about those sunny, daytime vibes

Location: Lake Tahoe, California
Tropical Getaway: features turquoise water and white sands a la the Maldives, the Bahamas, or whatever paradise I’m visiting

Location: Kuda Huraa, Maldives
Desert Dreams: beautifully dramatic preset showcasing desert sand bathed in sunlight

Location: Abu Dhabi, UAE
Jungle Fever: moody, lush landscapes and greenery for days

Location: Bali, Indonesia
Sunrise Sunset: because obviously.
Location: Sumba Island, Indonesia
Adobe Customer Care
If you have questions, one of the best customer service lines I’ve ever known is with Adobe. They’ve been beyond patient with my incessant questions through the years and can help answer anything down to categorization inside the platform.
Happy editing, y’all!


You are probably the only travel blogger’s presets I will ever use (even as much as I loooove editing my own pics)! I love color and vibrance as well and I’m tired of the muted/yellow hues from the current “popular” presets.
Thank you for this! I love for all of my photos to retain their pops of color and vibrance. Happy you agree!
I am super interested in purchasing your presets! I keep seeing so many people using light room and making their pictures on their phones look AMAZING but I can’t figure it out! Lol
Would love to help with that!! Will announce when they’re up for sale soon 🙂
Wait how do we get your presets though?! Loved this little tutorial.
I’m so glad! I’ll have them ready for sale soon!
Yes!
Awesome thanks!
Question! I have a Sony Alpha 6000 and typically just send my pics from my phone to the app. Do I need to invest in a computer and use the files that way to really maximize?
Also I want to get an additional lens – did you add one? If so, which kind?
Hi Lesley!
Are your presets available for purchase? I would love to buy!
Hey Carley! No they aren’t, not yet at least. 🙂
Hi Lesley! Can we use Lightroom to edit iPhone photos or will it not turn out as great?
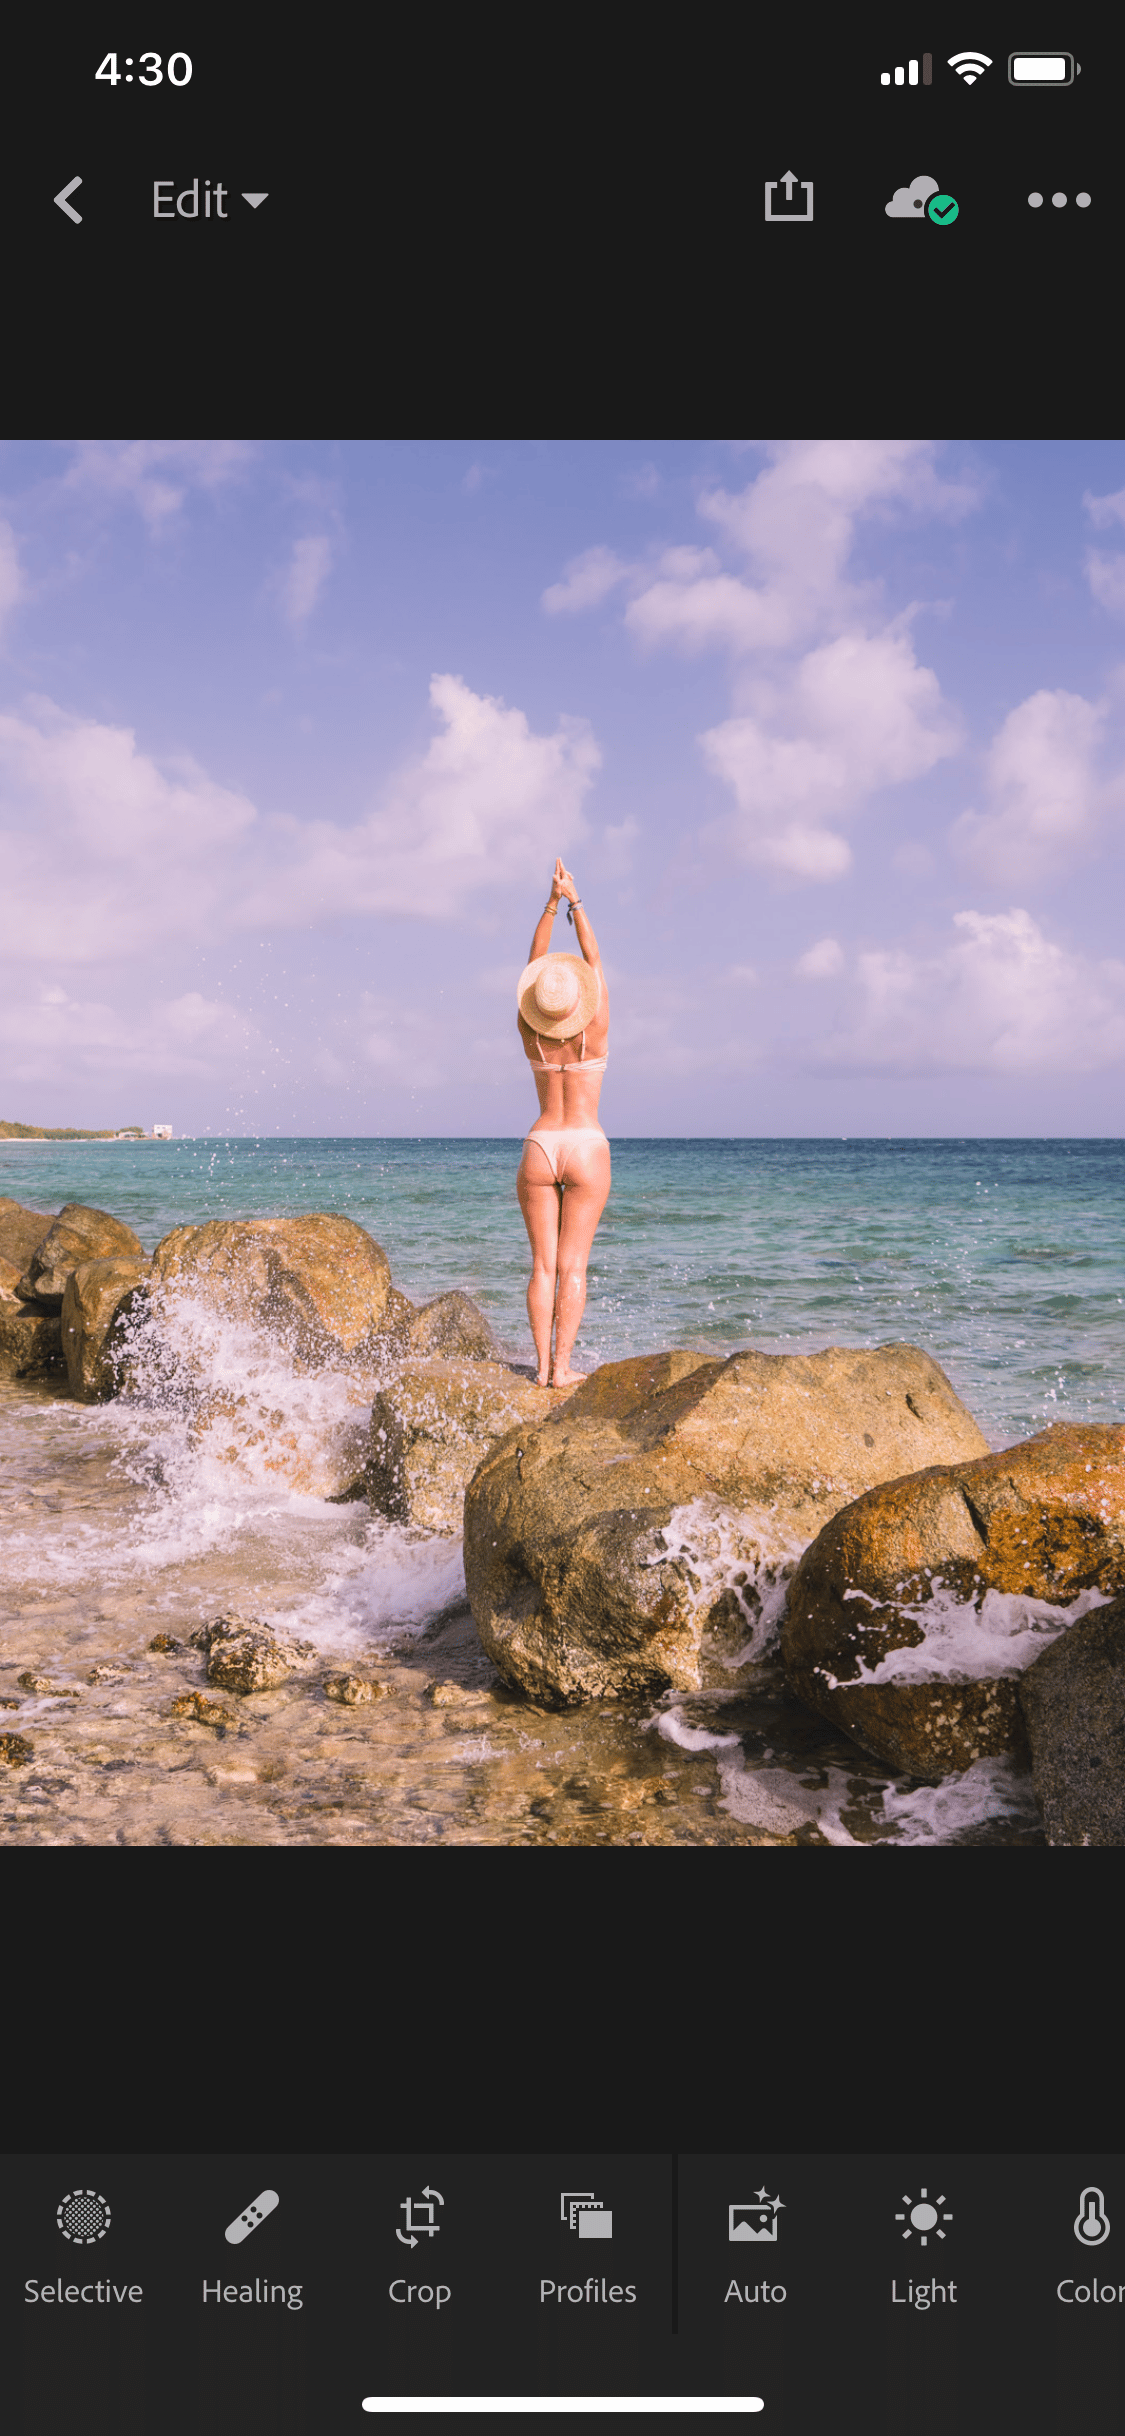
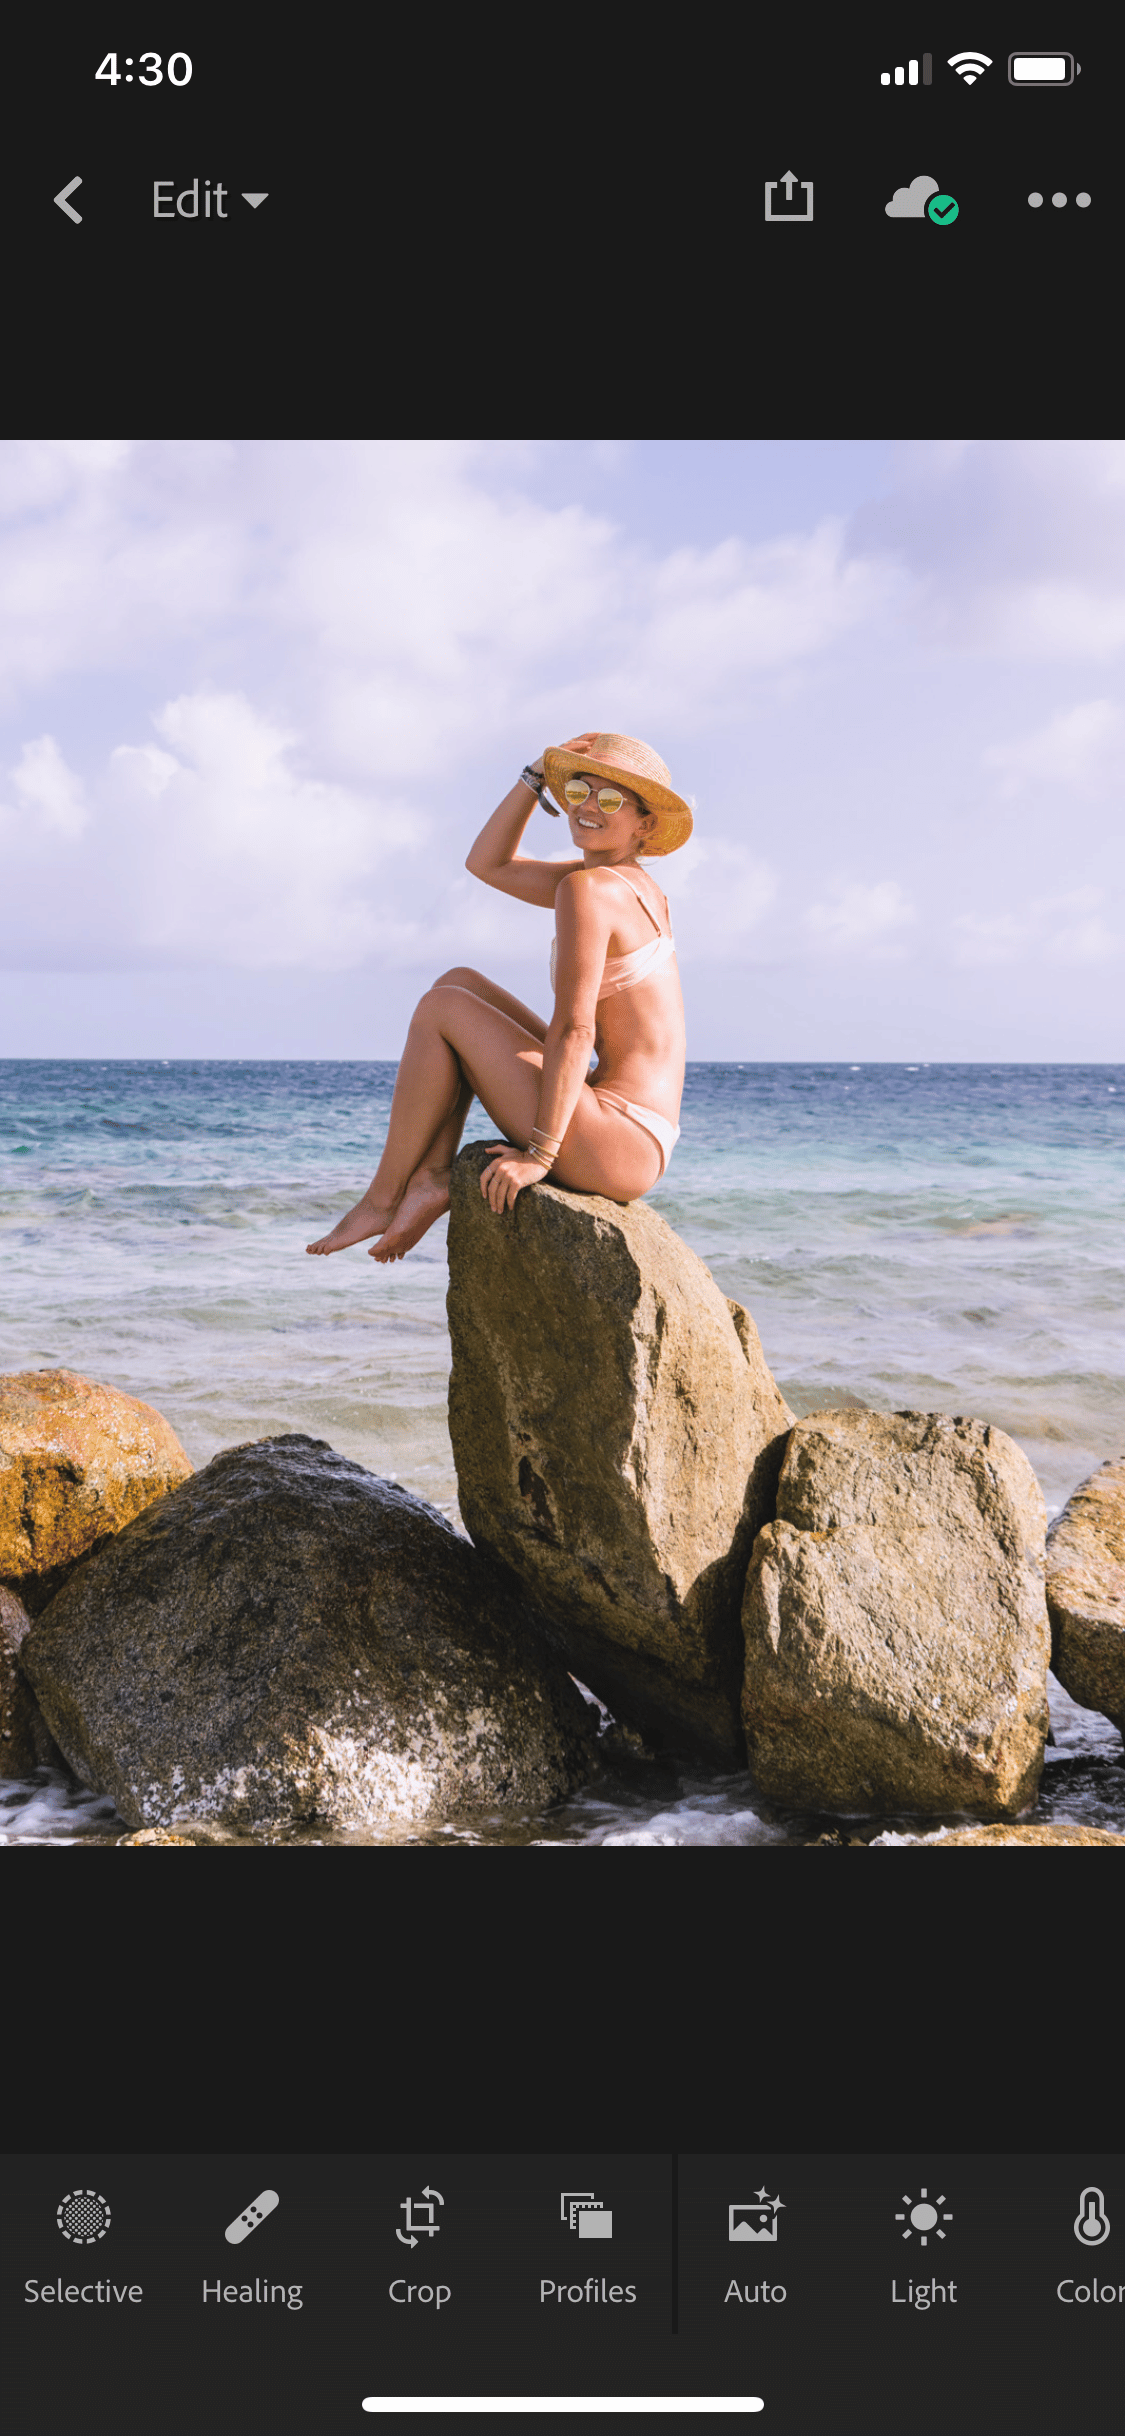
Yes! There’s a Lightroom app and it’s wonderful 🙂